When I first picked up these Tattered Angels Glimmer Mists, my dd was on cloud 9. She played a bit, then one day convinced me to completely tarp up our dining room table and I let her have at it for about an hour. At the end, I had this stack of gorgeous misted pages, and she was messy, but thrilled with her handiwork. Then came the question? What to do with them?
Then it hit me. These looked just like the internal art journal pages that I see on the web. Why not make a journal?
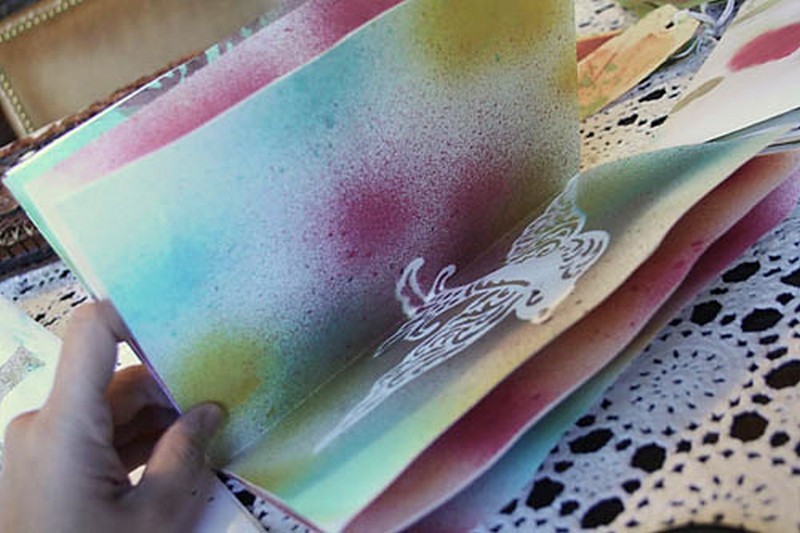
So, since I did not take pictures the first time, I sprayed another page as an example. Spray as many of these as you want, using the cool screen templates that Tattered Angels makes. I sprayed it on the value pack white cardstock. Vary your colors.


When they are all dry, fold them down the middle INWARD, with the imaged sides facing each other. Do this with all of your pages. Now, take two of the pages and put them on top of each other - you will have your 1/2 page,backside facing backside . Because you are adhering the backsides to backsides, what you have left are only the painted sides when you turn the page.


keep adhering pages like this until you have a small stack about 1/4" thick. This is called a signature. The outsides of your signatures will be the backsides of pages - but the internal pages of each signature will be only the painted sides, because you have adhered all of the internal backsides to each other.

Repeat until you have used up all of your pages, setting aside a single sheet to be your cover. You should have a small stack of signatures, plus a single sheet that you cut in half so it now measures 5 1/2 x 8 1/2" (in my picture, my cut "sheet" comprise the blue pages on the bottom).


mark holes approximately 1" apart from each end - this gives you 2 holes on top, 2 holes on the bottom. Next, find the middle of your page then mark 1/2 on each side - now you have two holes in the middle. You should have six holes marked total. hold your cropodile upside down, so you can see your mark in the middle of the hole punchie part of it.

Punch all your holes.

place your nicely punched template on top of the next signature to make matching marks. Punch those holes. Repeat til you are done with all of your signatures.

Take the chipboard that comes with each LM order, and cut 4 pieces the same size as your pages (which are 5 1/2 x8 1/2" (i.e. 1/2 of a letter size sheet of paper). Adhere two pieces to each other for your front cover - repeat for your back cover

Take that pretty cover piece you set aside and glue to the top of your front cover, and your back cover. Take a signature as a template, and make corresponding holes in the covers. Stack the back cover (print side out), your signatures, then your front cover, so they all line up and you can see through all the holes. Carefully adhere all of your signatures, backside to backside, together. Now you've got a large signature stack, plus a front cover and a back cover.
Now, the sewing.... I used regular crochet thread, double knotted. Up through the first hole on the bottom cover:

go around, pass your needle between the double threads, and pull into a knot.

Put a dollop of glue over the knot, just to secure it.

It doesn't matter if its still wet as you move onto the next step. It'll still dry on the knot.
Take the rest of your stacks and now align your MONGO signatures over the knot you just made in the first signature, and pull your thread through all of the holes in that hole position. Sew through that hole in all of the signatures. Bring your thread to the next hole 1" to the left (your thread is now diagonal), sew through signatures for that hole position, cross thread back over to first hole - now you've made an "x" - repeat 3 times.

Cross your thread under the middle of the "x"

Pass your needle through the middle of the loop, making a small knot in the middle of the "x." Return to first page of your second hole and bring needle through.


open your book and work with the thread from the inside, loop around, pull your needle and thread through the loop to make a knot. Place dollop over this knot like you did in the beginning. Cut thread.

Restring your needle with another double length of thread and repeat for the remaining two pairs of holes. When you are done, your book will be sewn in at the binding in 3 places.


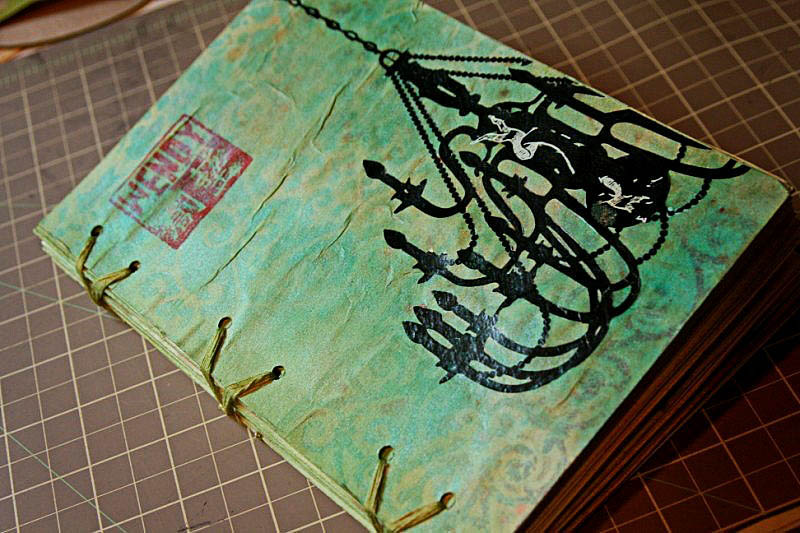
I stamped and embellished it, but looking at it, it was too bright with the blue. And so, i took out the tattered angels mists, and gave it another few spritzes with a gold, and a green. ahhh.. that's what I was looking for - bright and totally antiquey jade looking...


1 comment:
hey thank you for sharing, I am looking for ideas to make cool journey, this is absolutely beautiful :)
Post a Comment